Once you have all of your emails connected to your email provider, you can change how they look and you can change what they say.
To Change the Style of the Emails
Go to WPForms > Settings then select Email. Choose a template, then upload your logo and customize the colors, fonts, etc.
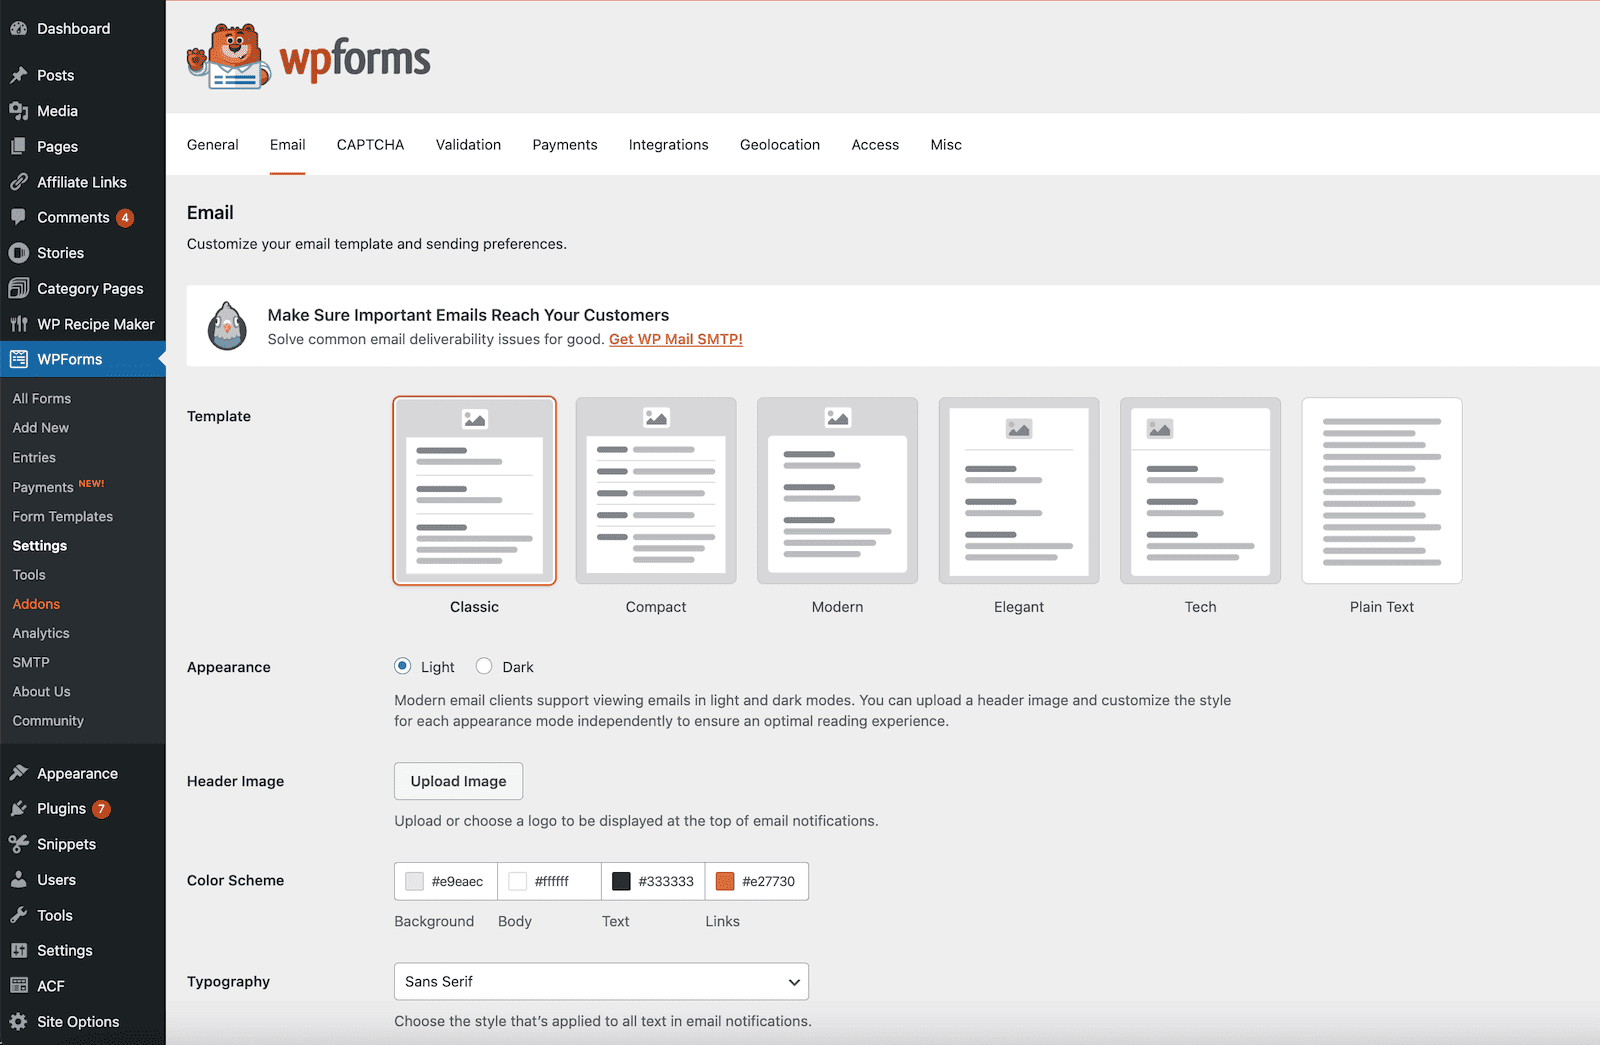
I recommend clicking Save before flipping between templates. It has a tendency to wipe out everything that you add – the colors, your logo, etc. if you change options, especially between light and dark mode.
To Change the Content of the Emails
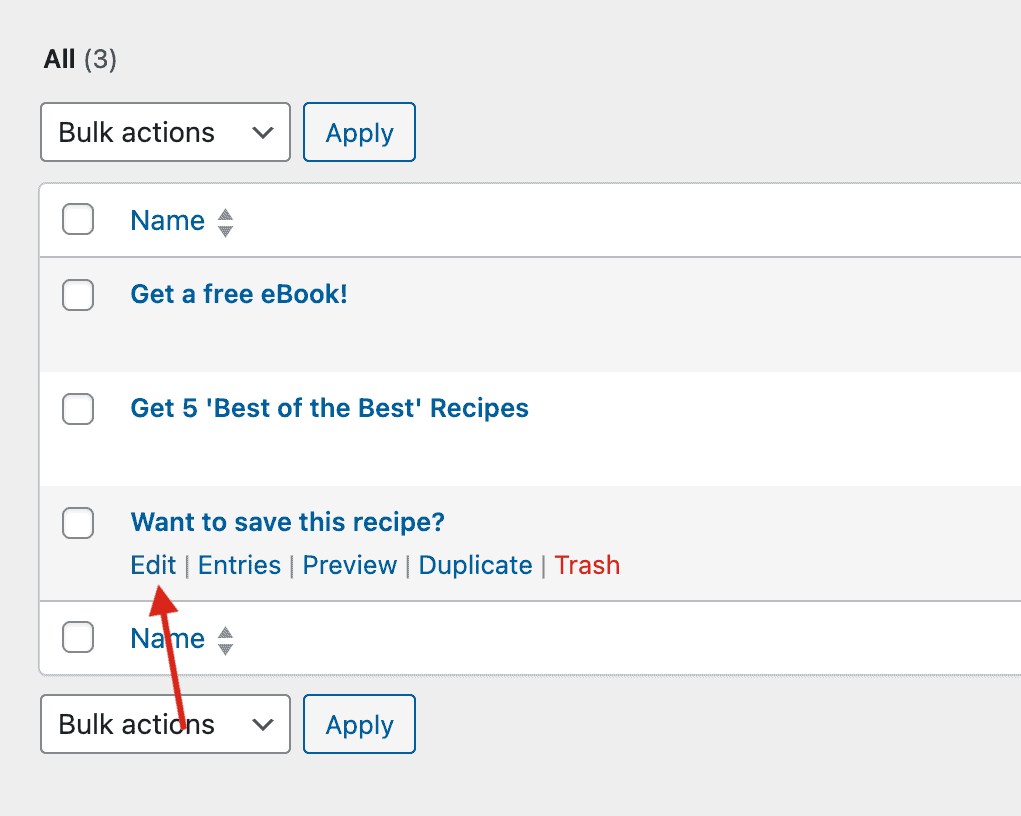
Go to WPForms > All Forms, then click Edit under the form that you want to edit.
If you click on the Title/Description area of the form, it will allow you to edit that content under the General tab – that is what will show on the front end of the form.

What you enter here is what will show on the form and will replace the text from above:

Then, click on Notifications to edit the content of the email that gets sent to users. (This only happens with the Save the Recipe form – the regular email subscription forms do not send anything to people.)
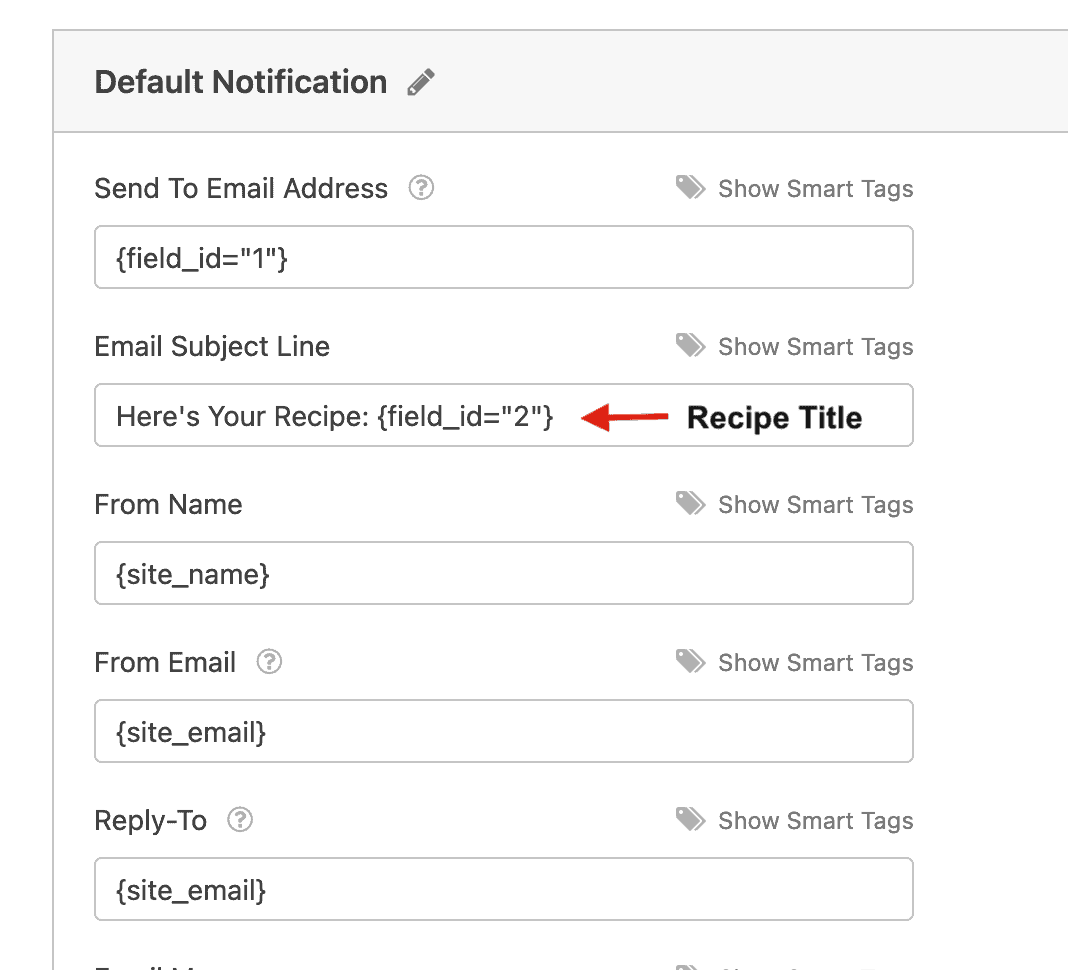
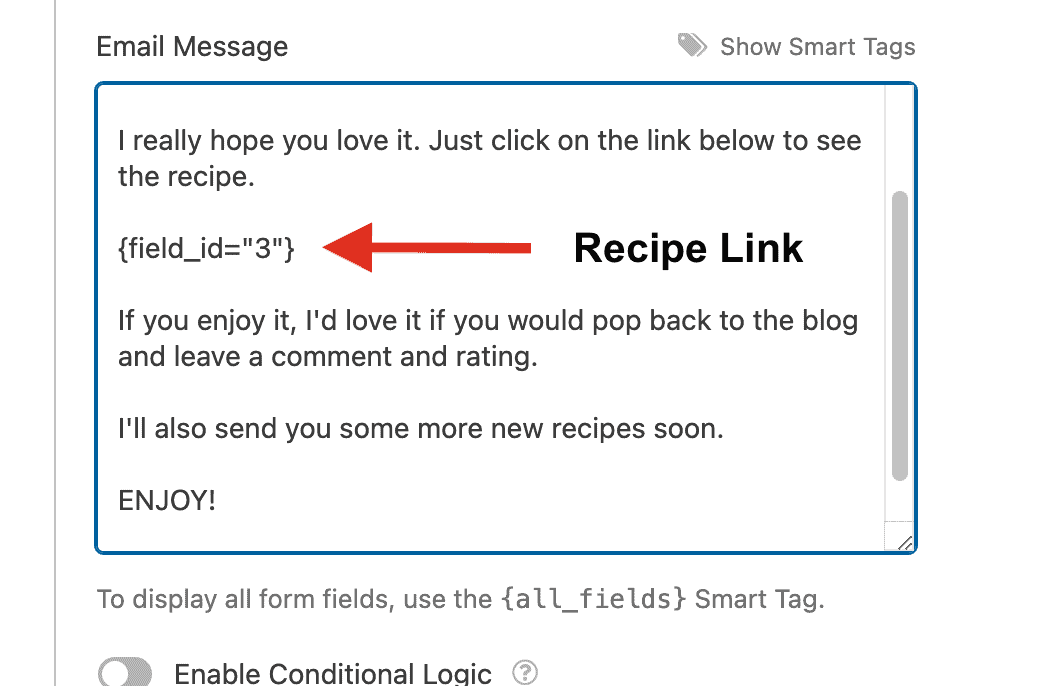
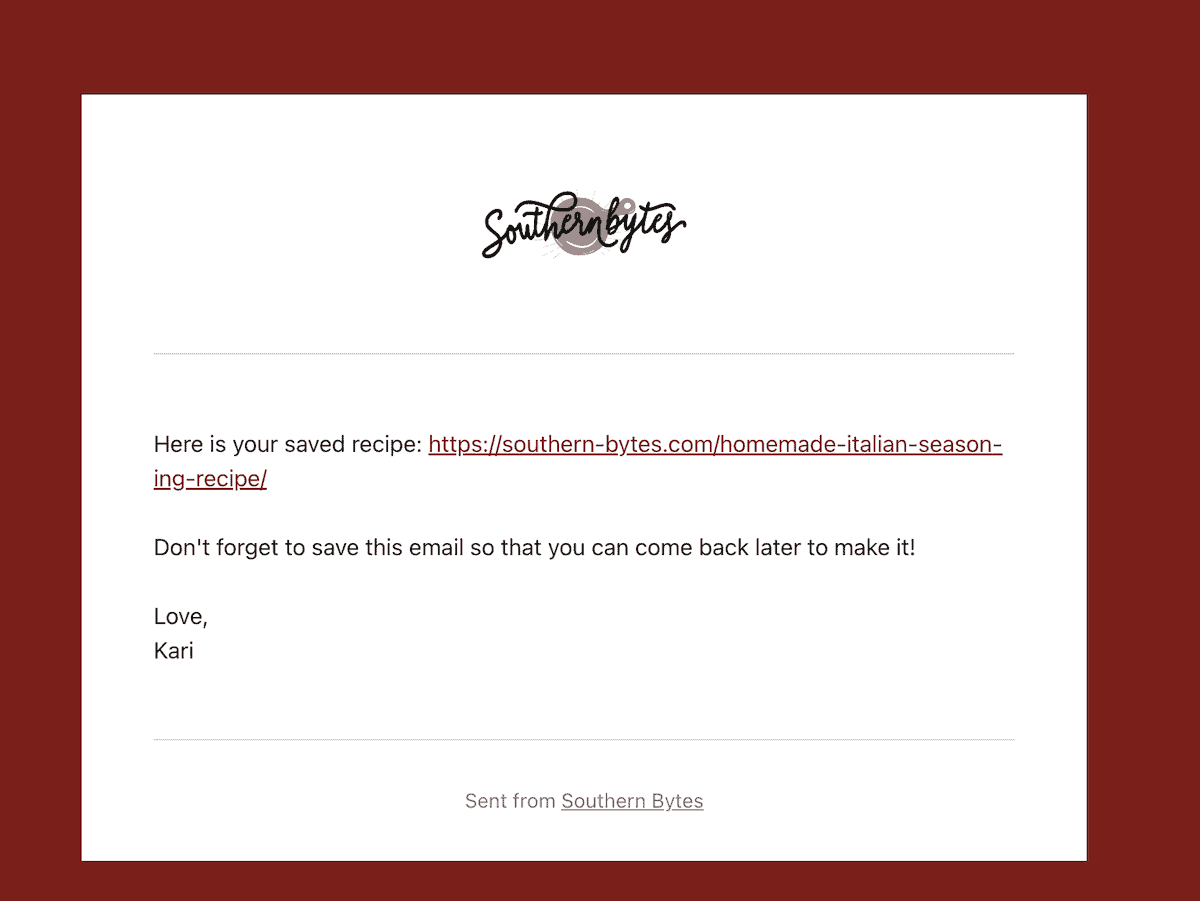
You can edit the Email Subject and the Email Message, but be sure to leave these two groups of text with their curly brackets – {field_id=”2″} & {field_id=”3″} as this is what displays the Post Title and Post Link in the email.
Just be sure to click Save on the top right.
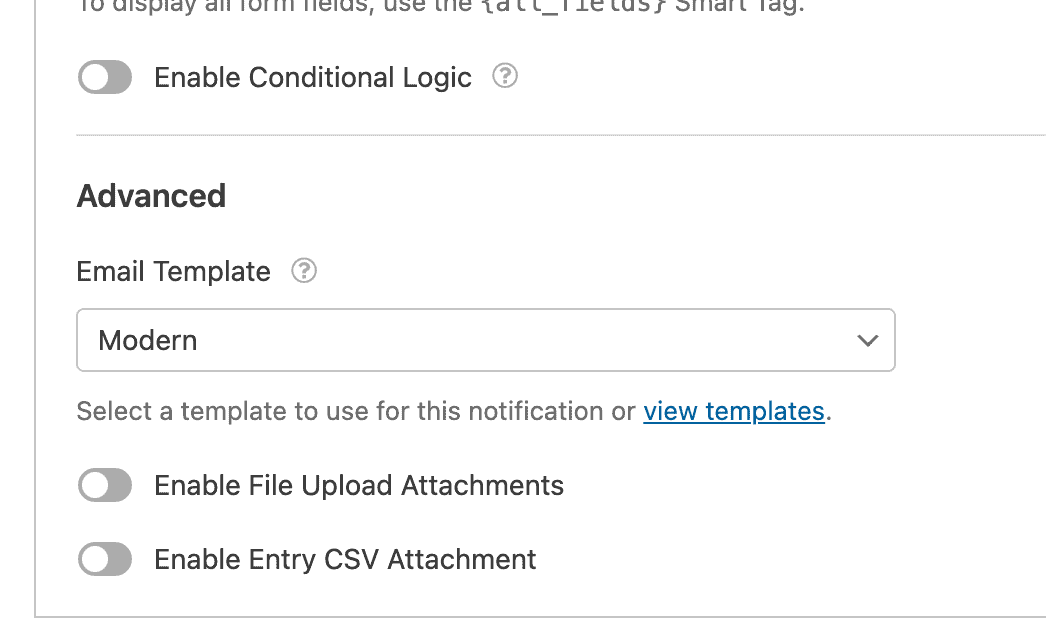
You can also set a custom template for your email on the bottom of this page if you don’t want to use the default that you set above:
Emails WILL not Send on a Staging Site
Just a heads up about that. It just won’t work.
Emails are disabled on staging sites – mostly for security reasons while they sit untouched – you don’t want someone to be able to reset the password of an admin and hack your staging site, then weasel their way onto your server. (Or, as I have once seen – accidentally email a bunch of people about a course that already happened when you log into your staging site for the first time in 2 years.)
Tip
If you don’t want to have a bunch of people signing up for your Save the Recipe before you can test it, you can save the Block Area that it is in as a draft until you can test it. When the site goes live, place the form on one recipe and test it before publishing the block area.

Testing the Email
Add the Save the Recipe block to a post on your site, then send it to yourself. The WPForms email will look however you style it – you can add your branding – your logo, colors, and the recipe link gets sent. The person’s email gets sent to your email provider and that’s all you need to do. Once you can confirm that you got the email, you can publish that Save the Recipe block area. If you are not getting emails, you should reach out to your host about setting up SMTP to improve email sending. If your host doesn’t offer that, we have some steps that you can follow.
If you want to make it fancier, you can use ConvertKit to send the recipe emails, just be aware that you can only email each person one time within 12 hours, so if someone wants to send more than one recipe to their email, ConvertKit can’t do that. (This solution allows you to send as many emails as you want.)